


Frost
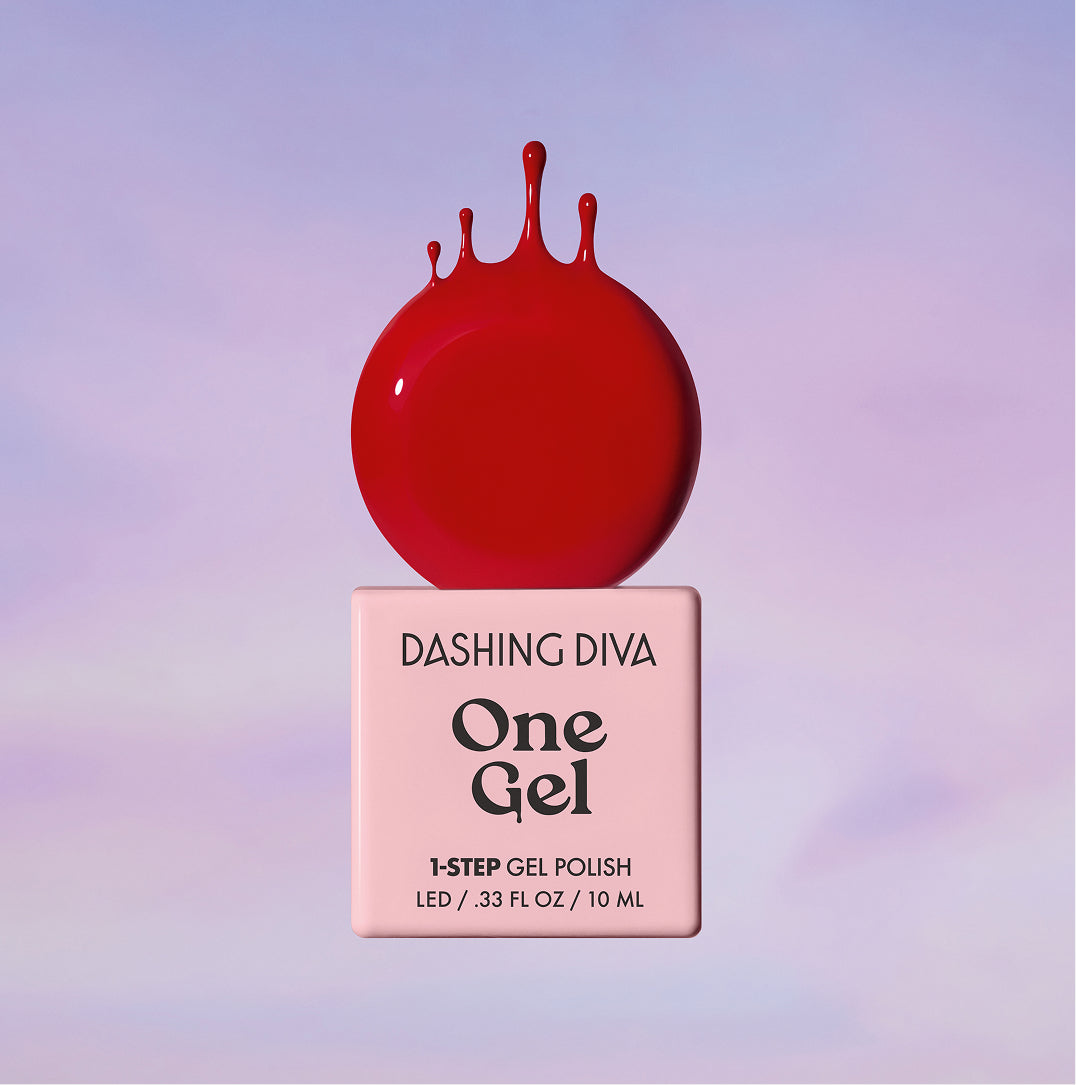
One Gel Color


One Gel Color Application
One Gel Removal
• Rich 1-step color.
• Flawless coverage.
• Shine that lasts.
• No base or top coat needed.
• Damage-free, bubble-off removal.
• Cruelty free, 21 free, vegan.
1 10mL / .33 oz one gel polish
Di-HEMA Trimethylhexyl Dicarbamate, Isopropylidenediphenyl Bisoxyhydroxypropyl Acrylate/Acrylates Copolymer, Diethylene Glycol Dimethacrylate, Trimethylbenzoyl Diphenylphosphine Oxide, Polysilicone-11, Tin Oxide, Polyethylene Terephthalate, Polyurethane 33, Synthetic Fluorophlogopite. May Contain: Titanium Dioxide, Iron Oxides, Red 7, Ultramarines, Aluminum Powder
How To Apply One Gel Color

Step 1
PREP
Clean nails with soap and water.
Trim or file nails to desired length and shape.
Push back cuticles.
Lightly buff nail beds using a buffer to remove natural shine and create subtle texture.
Remove any oils and residue from nails using alcohol and let dry.
If you have split, bent, or chipped nails: Gently file to smooth and reshape. Trim off damaged area of nail, if possible, to maximize wear. Then continue with prep steps to ensure proper adhesion of the polish.

Step 2
APPLY
Shake bottle well before use.
Pick up a small amount of polish on the brush and apply an ultra-thin first coat of polish (Don’t worry! It’s completely normal for the first coat to appear sheer and uneven. Your nails will look complete after the second coat).
PRO TIP: Make sure to cap your free edge with polish for longer-lasting wear.

Step 3
CURE
Press button on the back of the One Gel Lamp to activate LED light.
Cure nails* for 60 seconds.
Apply a second coat of polish to nails, then cure. If more opacity is desired, apply a third coat, then cure.
*Lamp will automatically turn off after 60 seconds.
The lamp fits four fingers at a time. Ensure all four fingers are placed under the light. Cure thumb separately, ensuring thumb is laying flat under lamp (nail facing up).
PRO TIP: To ensure proper curing, please use the One Gel LED Lamp. One Gel is not compatible with the Dashing Diva Glaze Lamp.
PRO TIP: Avoid getting polish on the cuticle or skin; remove any polish or pooling between nail and skin before curing.
NOTE: SmartShield technology allows you to safely connect USB-C to ANY power source – and can also cause your LED lamp to blink. Don’t worry, nothing is wrong. This is just the SmartShield doing its job.
OPTIONAL STEP: Apply & cure Dashing Diva One Gel Top Coat for extra shine.
One Gel Color
Reviews
- BrunaS1 month agoReviewingAttentionRated 5 out of 5 starsBeautiful color
I simply loved the color pigmentation and texture of the nail polish. It’s very easy to apply, and for the price it’s really delivers on all fronts. It dries very easily using the included curing lamp.
- ShivaniT1 month agoReviewingAttentionRated 4 out of 5 starsEasy
I love how the product comes with everything you need. I love the ease of application and removal. The picture is from day 4 is application. I did notice that it started chipping after 6 days.
- TamarL1 month agoReviewingAttentionRated 5 out of 5 starsEasy Gel Nails at Home
I’m quite impressed with this gel nail kit! The color is high quality, looks rich and glossy and end result looks like salon quality. It applied smoothly without much streaking and was easy to build up with a couple of coats and of course was easy to seal and dry with the lamp. It lasted a good week and a half without chipping. This is a good option when you want to save some money and do your nails at home.
- ChristinaA1 month agoReviewingAttentionRated 3 out of 5 starsPerfect Gel Polish for home
I absolutely loved the color Attention in the Dashing Diva one gel polish. It lasted almost 14 days without chipping. Even with daily chores like dishes. Application was easy and fast with the UV light provided in the kit.
- ChristinaA1 month agoReviewingMeritRated 2 out of 5 starsLove the color and Mini UV light
I tried the Dashing Diva one gel polish in Merit. I love the color, but it did not last very long and my nails very were brittle after removing the polish. It was challenging to remove with the Dashing Diva one gel magic off, bubble off gel remover kit provided by Influenster. Absolutely love, UV light, it folds up and fits right back in the box for easy storage.
Recently Viewed