


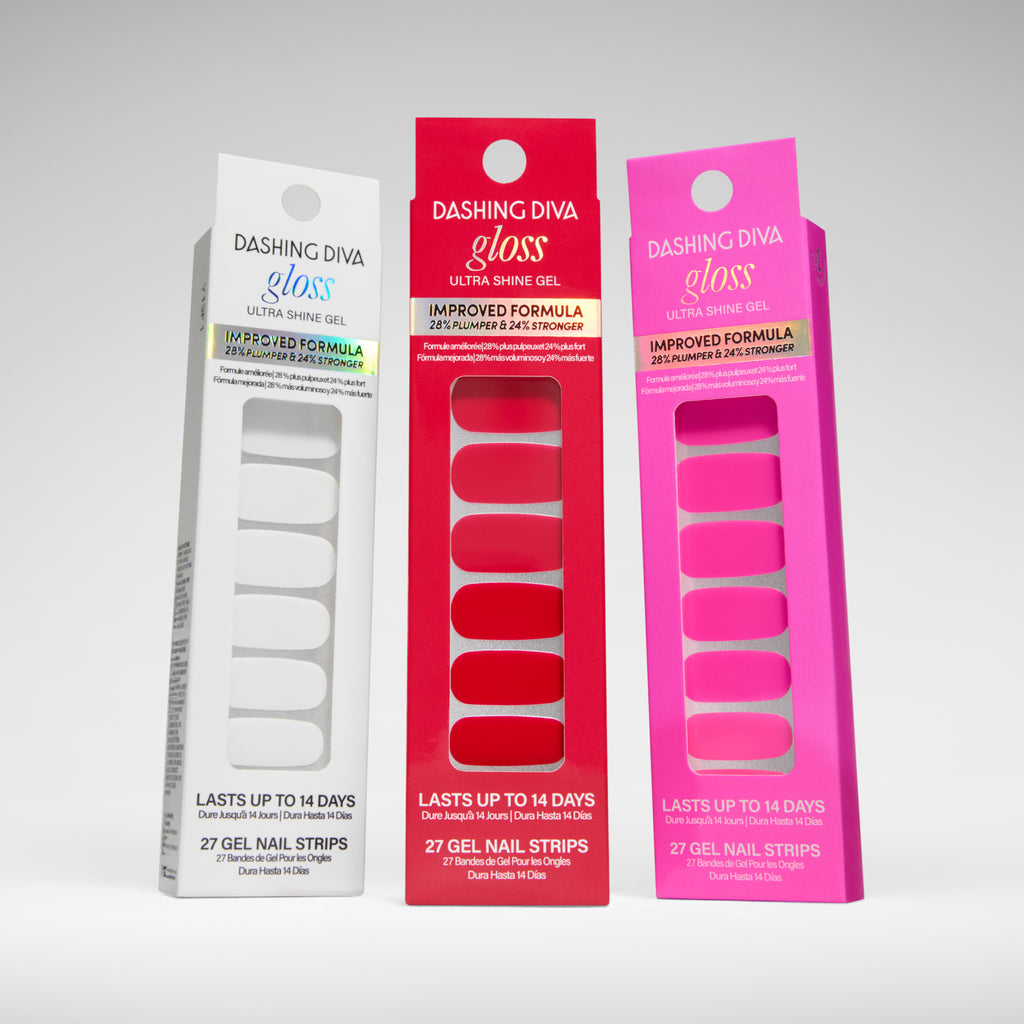
Gloss
Gel Nail Strips
It's like a mani on-demand.
Just press, file, and go.
- No polishing required
- No LED lamp needed
- Gentle, easy removal
- Lasts up to 14 days

Glaze
Semi-Cured Gel Nail Strips
The look and feel of a salon gel mani in a convenient DIY strip.
- No polishing required
- Hardens in 60 seconds under LED lamp
- Gentle, easy removal
- Lasts up to 14 days

One Gel
Gel Polish
One bottle, not three.
Get a base, color, and top coat in one.
- Round-edge brush for ultra-precise application
- Hardens in 60 seconds under LED lamp
- Gentle, bubble-off removal
- Lasts up to 14 days
How To's
|
Still Deciding Between Strips?
|

|

|
|---|---|---|
| Premium Gel Nail Strips | ||
| Salon Shine | ||
| No Mess | ||
| No Dry Time | ||
| Even Color - No Streaking Ever! | ||
| Up To 14 Day Wear | ||
| Helps Protect Nails While You Wear It | ||
| LED Lamp Required | ||
| LED Light Hardens Soft Gel Strip | ||
| Dome Effect Delivers Salon Sculpted Look | ||
| Masks Ridges And Hides Imperfections |
GLOSS


GLAZE


ONE GEL


Gloss
Wash your hands thoroughly with soap and water, and use the included Prep Pad to remove any oils from your nails. Make sure you completely push back your cuticles as well.
No base coat is necessary, as our nails adhere best to bare nails! If you’re worried about nail damage caused by improper removal, we recommend applying our Base Seal for Gloss. You can use your favorite top coat to seal it in but, we promise, the finish is so shiny, you won’t need to!
If you’re in between sizes, size down! It’s always better to use a strip that is slightly too small, than too big. If there is any overlap on the skin along the sides or cuticle line, there may be lifting.
First, apply an ample amount of Magic Off+ Remover. After peeling off a corner along the cuticle line, gently roll the strips off. Don’t rush with this! It helps to apply additional Magic Off+ to the fingers you’re using to roll the strips off as well. The more lubrication, the better!
Glaze
Wash your hands with an oil-free soap and water (dish soap works great to remove oils from the skin and nails! This helps Glaze adhere best). Shape the nails and push back cuticles. Use the enclosed Prep Pad to remove any remaining oil and residue. Make sure your nails are completely dry before application.
Because Glaze is an all-in-one product, no additional base coat, nail strengthener or top coat is needed. Should you decide to wear an additional product with Glaze, we cannot guarantee lasting results.
Glaze only requires 1 cure for 60 seconds.
To remove Glaze, apply cuticle oil (such as our Magic Off+ Remover) to the base of the nail. Using a manicure stick, gently and slowly lift the nail strip from the corner of the cuticle area. Saturate the nail with additional oil to help loosen the adhesive. After a few moments, gently and slowly lift off the Glaze from your nail by pushing from the cuticle line toward the tip of the nail with the manicure stick. Do not rush! If you feel any tension, apply more oil, and allow more time for the adhesive to dissolve.
One Gel
For One Gel solid colors, each layer applied should be thin. One layer will provide you with a full, flawless coverage, however you may apply a second coat if you desire extra opacity. When using One Gel Magnetic, be sure to only apply one layer, thicker than you would for color, before activating the effects with the magnet tool.
Blot a thick layer of our NEW One Gel Magic Off onto nails. After 3 minutes, the remover will begin activating, however you may experience best results by waiting 5-7 minutes. Once gel begins to bubble off, use the included tool to push gel off nails. Repeat until all gel is removed.
For removal, please note that One Gel is only compatible with our One Gel Magic Off. Magic Off+ is not designed to remove One Gel and may cause further damage if paired with the attempt to force polish off nails.
Yes! The One Gel LED Lamp is compatible with both GLAZE and One Gel products.
There are multiple ways to use it, actually. We can show you easier than we can tell you, so check out these tutorials to see how it's done!