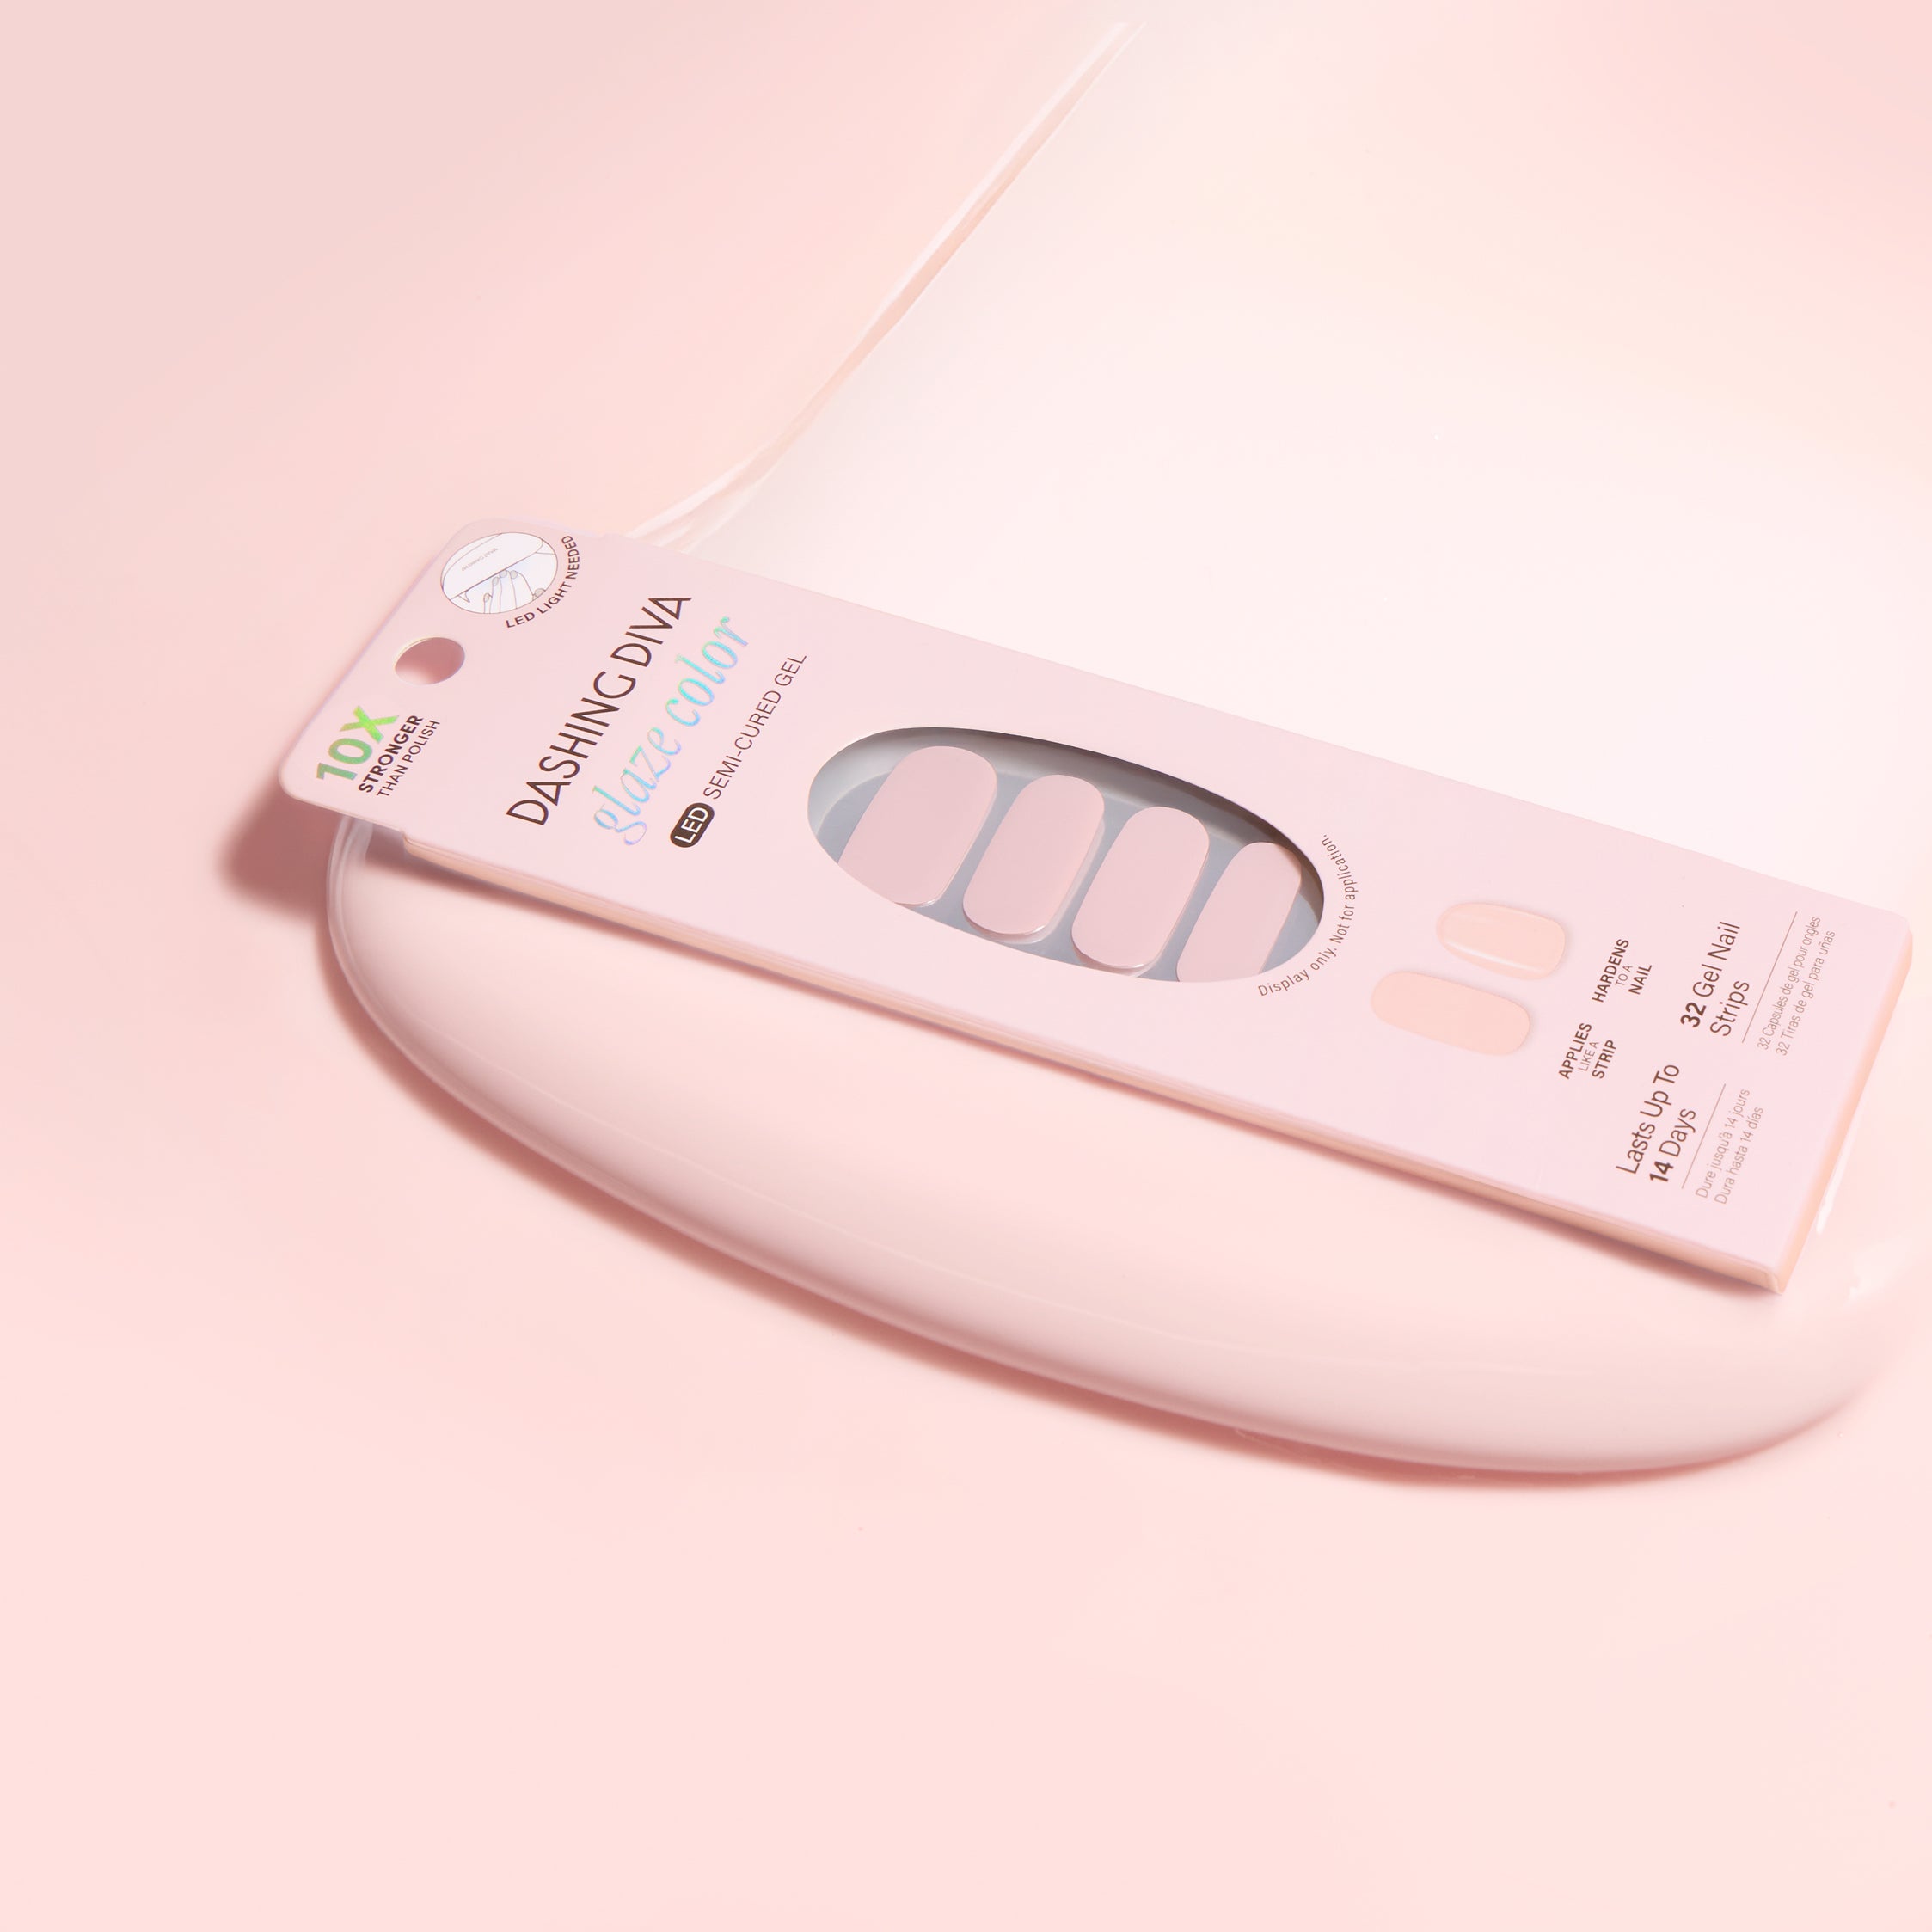
Dreamy but not sleepy. Pink and blue semi-cured gel strips with blurred florals and soft-focus designs, with mega volume and maximum shine.


LED Required
New


Amsterdam Haze
Glaze Design
Regular Price
$15
Rated 5.0 out of 5 stars
2 Reviews


Glaze Application
Features
QUICK & EASY: Easy-to-apply, fast-curing formula.
MOLDED SHAPE: Voluminous center x thin cuticle edge design sculpts and adds definition to nail shape.
MEGA VOLUME: Plump gel that masks imperfections for a smooth finish.
MIRROR SHINE: Rich, bold color with light-reflecting particles deliver brilliant shine.
EVEN SURFACE: Three perfectly-layered coats of gel polish create an always-even surface.
GEL STRONG: Lasting shine and durable wear for up to 14 days.
What's Included
32 semi-cured gel nail strips, 1 prep pad, 1 nail file, 1 manicure stick
Ingredients
Strip: Acrylates Copolymer, Polyurethane-11, Dipentaerythrityl Pentaacrylate, Acrylates Crosspolymer, Polyester-5, Synthetic Fluorophlogopite, Polyethylene Terephthalate, Polyurethane-33, Aluminum Hydroxide, Tin Oxide. May Contain: Chromium Oxide Green, Iron Oxides, Red 36, Manganese Violent, Blue 1 Lake, Titanium Dioxide, Aluminum Powder
Prep Pad: Isopropyl Alcohol, Water/Aqua/Eau
How To Apply Glaze

Step 1
PREP
Clean nails with soap and water.
Shape nails and push back cuticles using included manicure stick.
Use enclosed prep pad to ensure nails are clear from oils and residue.
Make sure nails are completely dry before application.

Step 2
SIZE & APPLY
Curve the sheet over each nail to find the best fit. Size down if in between sizes!
Remove the protective film. Gently lift the strip from the sheet, starting from the edge.
Place the strip over the center of your nail, starting at the cuticle line and smoothing outward.
For optimal adhesion, the strip should be placed above the cuticle line, avoiding skin.
Press down firmly from the center, then side to side.
PRO TIP: Spend an extra minute smoothing and pressing down the strip; the more you press = the better the adhesion.
PRO TIP: Using the manicure stick, gently and thoroughly press down on the strip to seal all edges before curing. This will prevent hair and debris from catching onto the nail strip perimeter.
NOTE: GLAZE may become stiff in colder temperatures. Once it is brought to room temperature, it will become flexible again for use. Strips can be warmed up between your hands before application.

Step 3
TRIM
Trim the strip flush to your nails using nail scissors or nail clippers.
Make sure the strip does not exceed your nail length.
Any overhang will cause lifting, chipping, or cracking.

Step 4
CURE & FILE
Press & hold the button on the back of the lamp for at least 1 second to power on.
Cure under the Mini LED Lamp for 60 seconds.
PRO TIP: Be sure not to expose unused strips to LED light while curing, as the strips will harden and become unusable. Store GLAZE in its container with the cover on while lamp is in use.
Position the nail file horizontally along your free edge.
File firmly across your free edge in one direction to remove excess.
PRO TIP: For optimal adhesion, avoid exposing nails to lotions, oils, or water for at least one hour after application.
Glaze
How do I prep my nails for Glaze?
Do I need a base or top coat?
I'm in between sizes. What should I do?
What if I mess up a nail? Can I redo it?
How many times do I need to cure?
My nails feel sensitive while curing. Why is this happening?
I'm noticing lifting and/or chipping at the tips. What happened?
How can I prevent my hair from getting caught?
How do I remove Glaze?
How should I take care of my nails in between manicures?
How do I store my leftover Glaze? Does it expire?
Reviews
100%would recommend this product
Total 5 star reviews: 2 Total 4 star reviews: 0 Total 3 star reviews: 0 Total 2 star reviews: 0 Total 1 star reviews: 0
2 reviews
- Kristine S.Verified BuyerAge Range 35 - 448 hours agoAge Range 35 - 44Rated 5 out of 5 starsGORGEOUS!
These are a fabulous summer or vacation nail! They are very bright in person and applied incredibly well.
DDDashing Diva5 hours agoKristine, thanks for sharing your review!
We are happy to hear that you love Amsterdam Haze—it really is gorgeous and perfect for summer or vacation!
Best,
The Dashing Diva Team - MelVerified ReviewerAge Range 45 - 546 days agoAge Range 45 - 54Rated 5 out of 5 starsAmsterdam Haze
I love this set. The perfect set for summer. They are still staying strong at 3 weeks of wear.
DDDashing Diva6 days agoMel, we're thrilled to hear that you love Amsterdam Haze—it really is perfect for summer!
Thank you for taking the time to share your review! 💕
Best,
The Dashing Diva Team
Recently Viewed